Friday, March 28, 2014

A Couple Good Ones...

Happy Friday!

I have been very infrequent in my postings of new recipes.  Life has gotten very full and truthfully, I don't have a lot of time for trying new recipes.  My family wishes I did! They are probably quite sick of all my old standbys.  : )  And now I will be taking a year+ off from this blog.  As many of you know, my family and I are going to India to volunteer with Rising Star Outreach for this next year.  

You can read all about how we came to this amazing opportunity HERE.


We leave June 1st, so before things get totally crazy, I have been de-junking my computer hard-drive and I came across some recipes that I had never posted.  Mostly, I did not post them because my pictures turned out poorly. : )

But they were both really good recipes, so I wanted to at least give you the links to them.  They are both quite easy to make and my family liked them....and I loved them!

Roasted Cauliflower Risotto on A Couple Cooks.  I love their site!  They come up with some amazingly delicious stuff!  And they always have gorgeous photos.  You can tell she is not a mom of five who is racing to get dinner on the table before 2 soccer games and youth night at church.  : )

Curry Artichoke Rice Salad on Pinch My Salt.  This is a really quick and easy recipe with a good fresh flavor.  I really should make it again to help my kids get used to curry...since we will probably have something with curry in it nearly every day over in India.


Another thing I have been de-junking is my collection of Martha Stewart Everyday Food magazines.  I came across about 10 recipes that I just had to try before I gave them all away, so if any of them turn out to be fabulous, I promise I will post them before I leave.

Have a Wonderful Weekend!!

Monday, October 7, 2013

Tomato, Spinach, and Barley Soup

{Meatless Monday}


We have had an abundance of tomatoes lately because my aunt lives nearby and has a huge garden and has let me come pick HUGE quantities of tomatoes (plus squash, peppers, and basil!!).  I used up most of them canning salsa and stewed tomatoes, but then one of my stewed tomatoes did not seal.  So I went searching the internet for some recipes that used stewed tomatoes and I found a winner!  


This soup recipe comes from this post at Tasty Treats.  You'll notice quite a few changes, the first being that I don't use any sausage.  ; )   But she has beautiful pictures.


Here's what you’ll need...
  • 2 tbsp. olive oil
  • 1 large onion, chopped
  • 3 cloves of garlic, chopped
  • 8 cups vegetable broth
  • One 15 oz. can of diced tomatoes (I used one full quart)
  • 1-2 tbsp. oregano
  • 1/2 tsp seasoning salt
  • 1/4 tsp marjoram (optional)
  • 1/2 tsp celery seed
  • 2 cups uncooked pearl barley
  • 1 lb. fresh spinach

In a large pot, brown your onions and garlic until softened, 3-5 minutes.

Add the vegetable broth, can of diced tomatoes (including juices), and all seasonings. Bring to a boil.
Add the pearl barley and return to a boil.  Turn down heat and let simmer until soft (30-35 minutes or so).
Add the fresh spinach and cook just a minute or two before serving.

Top with a sprinkling of Parmesan Cheese for extra flavor.


 This soup is very simple...and so filling with the barley.  We loved it.  And I happily ate the leftovers for a day or two because this makes a lot of soup!!  Enjoy!


Monday, September 30, 2013

Creamy Carrot and Millet Soup

{Meatless Monday}

I already have a number of Carrot Soup recipes.  And I LOVE them.  They are some of my favorites.

There is the Moroccan Carrot Soup that my sister introduced me to....here.

And my newer favorite, Roasted Carrot Soup (you all know my obsession with roasted vegetables... ; ),  that I found from Martha Stewart....here.

And now I have a new one to add into the rotation.  Each of these soups has a very distinct flavor even though they all mostly have just carrots in them.

I had never tried Millet before.  Have you?  It looks like this:


And I buy it in the bulk section of my WinCo.

It cooks up completely soft and is blended up with the soup, so there are no chunks...but it gives a wonderful creamy flavor to the soup...almost a cheesy undertone.  Seriously...you have to try it!  It is delicious, plus just really good for you.  We all know we should be getting a good variety of grains.

Here's what you need:

2 T butter
1 medium onion, chopped
2 lb. carrots, peeled and chopped
1/2 cup millet
3 cups broth
1/2 tsp salt

1 to 1 1/2 cups milk
1/4 cup sour cream

Bread (french bread or just regular sandwich bread)
Cheddar Cheese
Optional toppings: green onions and dill weed  (I have never used either of these yet.)


Here's what you do...

Saute the onion in the butter until tender, about 10 minutes.

Add the carrots, millet, broth, and salt. Bring to a boil.  Reduce to low and cook, COVERED, for 35 minutes.  Blend in a blender (I have to do mine in batches) adding the milk to make your desired consistency.  Return blended soup to the pot and stir in the sour cream.  Warm up soup, if needed.

Now, the night that I made this and took my pictures, I had not a lick of bread in my house.  I was all out.  But it is SO YUMMY to make regular grilled cheese sandwiches--or just melt some cheese on top of French Bread slices--and cut them into croutons.

this is, sadly, the best picture I got of the soup...  ; )

Ladle soup into bowls and top with your grilled cheese croutons.  Add additional toppings, if desired, and ENJOY!!  I love creamy soups that are mostly vegetables with just a hint of cream.  I plan on making this one regularly throughout this fall and winter.


Tuesday, September 24, 2013

Delicious and EASY Breadsticks

Hello, again!  Now that it is Fall, and all of my kids are in school all day long, I am hoping to have more time to keep posting and sharing on this blog.  ; )

I was scrolling through all my posts looking at a few that got stalled in the "draft" stage, and I came across this one.  I guess I uploaded the pictures and never got around to typing up the recipe.  

You will want to try these.  They are SO easy.  And SO good.

The best thing about these is that they can be done so quickly.  You can go from start to finish in about 45 minutes...with most of that time involving no work from you since the dough will be rising or baking.

Here's how to do it....
Warm up 1 1/2 cups water in a small bowl in the microwave.  Add 1 T yeast and stir.  Sprinkle 2 T sugar over the top and stir again.  

In a large bowl or mixer, combine 3 cups flour and 1 1/2 tsp salt.  Add the yeast mix and stir well.
  LET SIT 10 MINUTES.

While that starts to rise, cut up 1/3 -1/2 cup butter on a cookie sheet and place in the oven with the oven  either on warm.  Set a timer for 3-5 minutes so you don't end up burning the butter.  ; )  Take the butter out of the oven and sprinkle on garlic and parmesan cheese to your taste.  You can also sprinkle on herbs like Italian Seasoning, Oregano, Basil, etc. (I use the herb mix that I always have on hand for dipping our Italian bread in.  You can find it here.)

After the 10 minutes, roll out the dough into a rectangle and cut into strips (I cut them on the shorter side of the rectangle.)  

Take one strip and coat both sides in the butter.  If the dough is pretty stretchy, I like to stretch each one a bit and fold in half and twist...as shown below.  Or you can keep them straight and just lay them on the cookie sheet.  Repeat with all remaining breadsticks.  My recipe normally makes about 15-16.


Let rise for 10-15 more minutes while you preheat your oven to 350*.

Bake for 15-17 minutes until  just barely browned.  You don't want to overcook these.  And the longer you can let them rise, the thicker they will be and the softer they will end up being.


These are SO simple to make.  They are my favorite thing to make when we have company coming because it is the easiest homemade bread, EVER!!

Wednesday, June 19, 2013

Sweet Potato and Black Bean Enchiladas

{Meatless Monday}

...even though it is not really Monday at all!

I got this recipe off one of my favorite vegetarian cooking blogs.... A Couple Cooks.

This was REALLY yummy.  Surprisingly yummy!   I bookmarked the recipe more out of curiosity than anything.  It was one of those times when I thought, "well, I like sweet potatoes....and I like black beans...but will I really want to eat them together??"  ; )

But, yes, oh yes, you want to eat them together!  This was a keeper and I can't wait to make it again.

Here's what you'll need:

2 medium to large sweet potatoes (3 cups diced)
15 oz. can black beans
8 ounces canned diced green chilies (about 1 cup)
1 medium red onion
½ tablespoon cumin
1 tablespoon chili powder
½ teaspoon garlic powder
½ teaspoon kosher salt
Fresh ground pepper
about 2 cups salsa verde (or homemade tomatillo salsa)
1 cup Colby jack cheese, shredded
8 whole wheat flour tortillas (or 10 6-inch)
Sour cream
Fresh cilantro, to garnish


Preheat the oven to 350°F.

 Peel and dice the sweet potato. Place in a pot and cover with water; add a pinch of salt. Bring to a boil and cook until tender, around 12 to 15 minutes. Drain and place in bowl.

Now to prepare the filling:  Finely chop the red onion. (I decided to saute my onion for about 5-7 minutes.  It helps my kids to eat them better!)


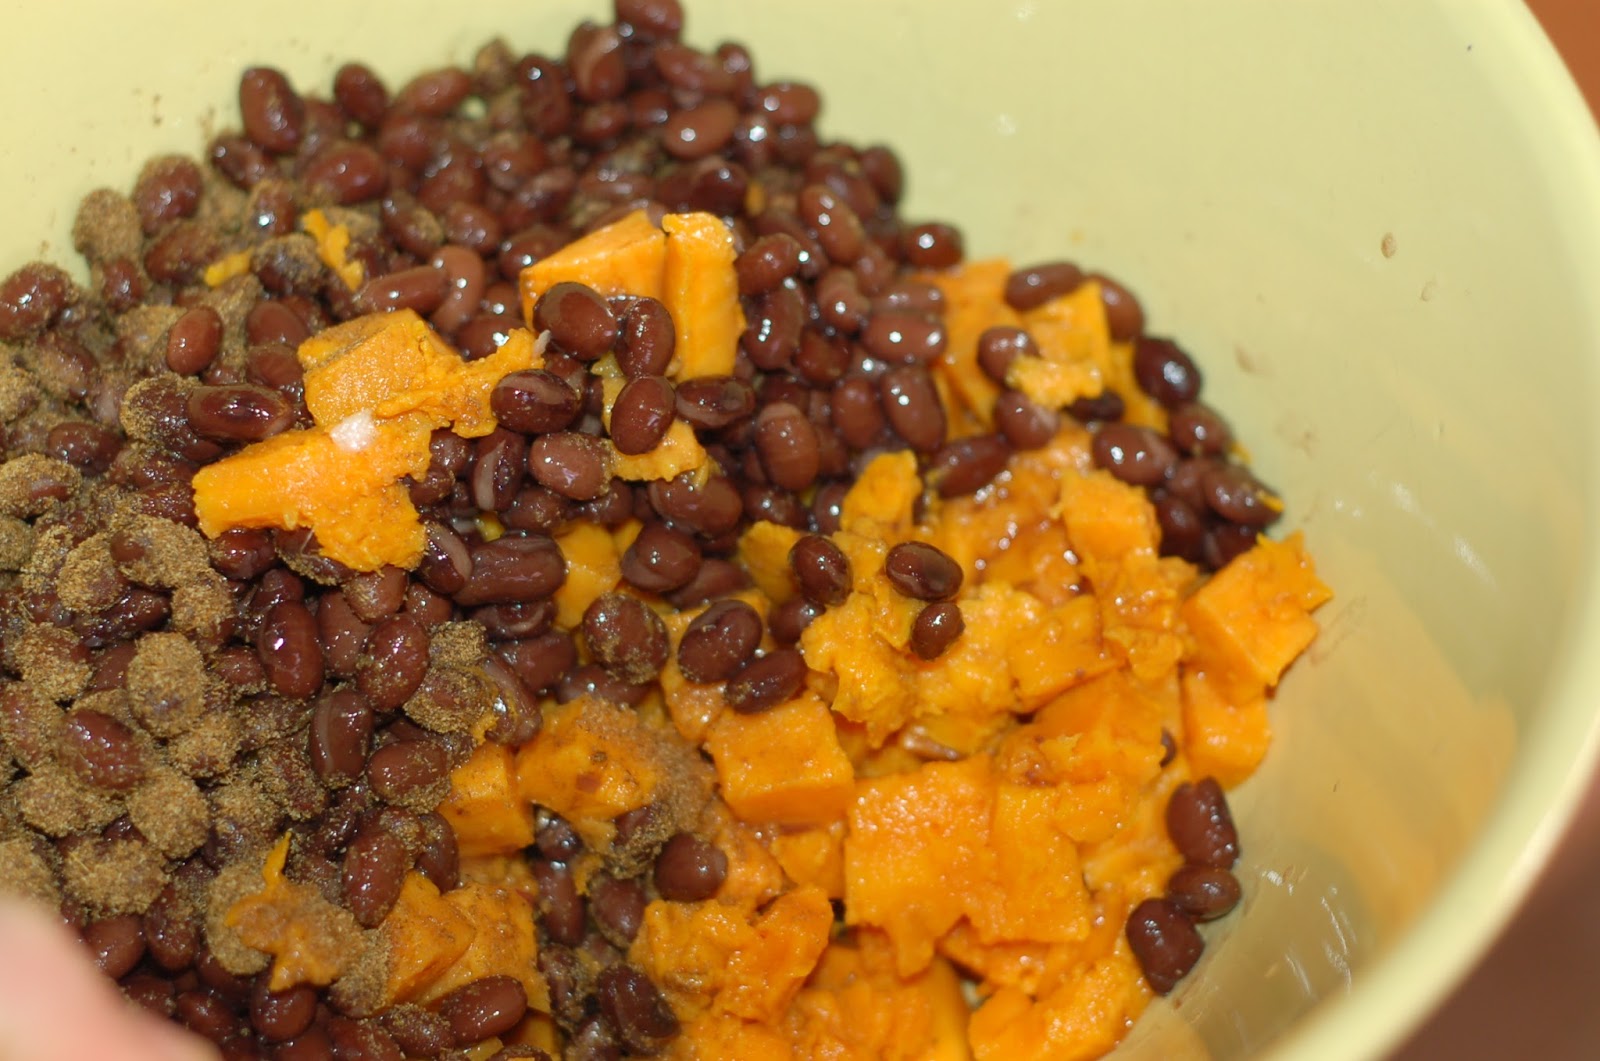
To Mix the Filling:  In a large bowl, combine the cooked sweet potato, drained black beans, red onion, green chilies, ½ tablespoon cumin, 1 tablespoon chili powder, ½ teaspoon garlic powder, ¼ to ½ teaspoon kosher salt, and fresh ground pepper. Mix to combine.


To make the enchiladas... In a large baking dish, spread ¾ to 1 cup of the salsa verde. Fill each tortilla with a heaping ½ cup scoop of the filling, add a handful of cheese, and roll it up. 


Place the enchilada seam-side down in the baking dish. Repeat for the remaining tortillas. When all enchiladas are in the dish, top with the remaining salsa verde (about ½ cup or so) and the remaining cheese.

Place in the oven and bake for 20 minutes, until the cheese is melted.

Serve, garnished with sour cream (mixed with a tiny bit of water to loosen it) and chopped cilantro, if desired. (I only had romaine lettuce, but sour cream & cilantro would be fabulous!) 


Monday, April 29, 2013

White Bean Burgers with Spinach

{Meatless Monday}

I have SO many recipes for non-meat burgers that I want to try.  Every time I see one, I rip it out and put it in my folder.  They all require quite a bit of mashing and such...so they seem a little more labor intensive.  But when I actually get around to making them, they always turn out great!  These were easier than some I have made.  They have a great flavor and as long as you cook them well, they have a nice crispy outer layer.

Here's what you need...

1 19 oz. can cannellini beans, rinsed and drained (I used Great Northern)
1 1/2 cups soft bread crumbs
1/4 cup shredded carrot
1/4 cup finely chopped onion
1 egg
1 T olive oil
2 T fresh parsley, chopped
1 cup fresh baby spinach
4 slices country bread or buns

In bowl, mash beans with fork or potato masher. (I used my pastry cutter at first and then finished with my potato masher.)  Stir in half the bread crumbs, the carrot, onion, egg, 1 T. oil, half the parsley, and 1/4 tsp each salt and pepper.


 Shape into 6 to 8 patties (depending on what size you prefer).


Place remaining bread crumbs and parsley in shallow dish.  Coat both sides of patties in bread crumb mixture.


 In large skillet, heat 2 T oil over medium heat.  Cook patties in hot oil 6-8 minutes per side.  (I actually cooked mine at least 8 minutes per side. I like to make vegetarian burgers have a nice crispy outside...it gives the a nicer "bite".)


Serve patties on toasted bread with spinach, open faced.  I also used my Cajun Mayonniase to spice up the flavor a bit, and it REALLY worked with the flavor of the patty!


***Cajun Seasoning Recipe***
I am not about to go to the store and spend $5 on some special mix of spices, so I simply googled Cajun seasoning and then mixed up some of my own.  Here is a link if you want to make a larger portion of it to keep in your cupboard:  Cajun Seasoning 

I just basically made a small batch of it...here's what I used:
3/4 tsp. paprika
1/2 tsp. garlic powder
1/2 tsp. onion powder
1/2 tsp. ground thyme (I just chopped up my regular thyme)
1/8 tsp. ground black pepper
1/8 tsp. cayenne pepper
1/8 tsp. dried basil
1/8 tsp. dried oregano

Mix all up in a bowl.  This made enough for at least 2 or 3 recipes of the burgers.

Use 1 tsp of this seasoning per 1/2 cup mayonnaise.  Or however it fits your taste!  ; )

Monday, April 22, 2013

Butternut Squash Risotto

{Meatless Monday}

This is kind of a "cheat" post.... ; )

But I got this recipe off of Pioneer Woman and the night I made it was CRAZY!  I barely had time to make the dinner, let alone take pics of it!  (I thought I had taken at least ONE picture right before I ate, but I searched and searched and nope...not a one!)

Plus, Pioneer Woman has GORGEOUS photography and takes SO many pictures, it would be a shame for you not to see them!

This was SO AMAZINGLY DELICIOUS that I completely over-ate!  I think I had three servings. I just could not help myself.  ; )  And I cannot wait to make it again, only this time, I will save that third serving for lunch the next day.


So....you simply MUST try this!  It was easy and oh. so. delicious.  And pretty healthy too!  I, of course, used Half and Half instead of the Cream and it was still creamy and delicious.  My husband and I plan on hosting a (belated) Earth Day Celebration Dinner and I am absolutely making this delicious dish!

Butternut Squash Risotto


Monday, March 25, 2013

Asian-Style Fried Rice and Beans

{Meatless Monday}


I am so glad I tried this recipe.  Years ago I would never have even looked at it twice...but that was back before I liked pineapple.  I was 26 before I tried my first fresh pineapple and discovered that I LOVED it!  Since then, I have been able to enjoy it in a few forms, though I still cannot abide pineapple in my jello salads.  Yuck.


But since this one was sliced pineapple and it was seared I thought I would end up liking it.

It actually calls for fresh or canned.  I think it would be AMAZING with fresh, but I think I will only bother with fresh if I happen to find pineapple on a great sale.  The canned slices worked really well.  The recipe said that canned would not sear as well as the fresh, so I sprinkled a tiny bit of brown sugar in the pan to help it carmelize a little better.

This was actually a BIG hit with the family.  Everyone ate their dinner with NO COMPLAINTS!  (That does not happen very often at our dinner table! : )  And three of the four children that were at the table asked for seconds...especially the pineapple.  It is definitely a keeper!!


Here's what you'll need...

1/2 pineapple, peeled, cored, and sliced OR 8 oz. can pineapple slices
1 T. vegetable oil
2-3 medium carrots, thinly bias-sliced
4 cloves garlic, minced
2 tsp. grated fresh ginger
2 cups cooked brown rice (I used 1+ cup brown rice and 1+ cup barley)
1 15 oz garbanzo beans, rinsed and drained
1 1/2 cup frozen peas, thawed
3 T. soy sauce
1/3 cup snipped fresh cilantro
1 lime, halved


Heat 2 tsp oil (and a little sprinkled brown sugar if you want) in the pan.  Get the pan nice and hot before adding the fruit.  It should sizzle when it hits the pan.  Brown each side for about 2 minutes.  Remove from pan and set aside.


I just cut mine up with the spatula once it was seared.

Pour the other 1 tsp. oil into the hot skillet.  Add carrots; cook, stirring frequently, for 5 minutes or until just tender.  Add garlic and ginger; cook 30 seconds.  (Forgot to take picture.... ; )


Stir in brown rice, garbanzo beans (chickpeas), and peas.  Add soy sauce.  Cook and stir about 4 minutes until heated through.  Stir in cilantro.  Return pineapple to pan.


To serve, squeeze lime juice over all.  Top with additional cilantro leaves, if desired.  (I forgot to buy cilantro, so you won't see any in my pictures!)

This was probably the most delicious fried rice recipe we have ever had.  I LOVED the sweetness of the pineapple and I also appreciate that the recipe calls for regular ingredients.  And it is FAST.  You could cook up the rice early in the day--or just use leftover--and it could 
be on the table in 15 minutes flat!


Monday, March 18, 2013

Mushroom Barley Salad

{Meatless Monday}


This one comes from the most recent Martha Stewart Living Magazine.  Since they discontinued Everyday Food (boohoo!), they are filling the rest of my subscription with their main magazine.  I think this stood out to me since my hubby and I both LOVE mushrooms and also because he has recently decided that he likes barley (as opposed to brown rice, which he hates.)

The recipe is SUPER easy to throw together...especially if you cook the barley beforehand.  Barley, like brown rice, takes about 45 minutes to cook...so it definitely needs a little planning ahead!

Here's what you'll need...
I will give you what the recipe actually calls for, but I substituted nearly everything ; ), so I will also tell you what I used.

Olive oil
1 to 1 1/2 lbs. mixed mushrooms     I used white and crimini
1 shallot, minced                        I used a regular yellow onion
3 T sherry vinegar                 I used 1/2 balsamic (or red-wine) vinegar and 1/2 rice vinegar 
1/2 cup creme fraiche               I used fat-free sour cream
3 T chopped fresh chives         I used dried chives
3 teaspoons fresh thyme           I used dried thyme--I wish I had used way less...like 1/2 tsp?  
2 small heads Bibb lettuce        I used Romaine lettuce, chopped
1 1/2 cups cooked barley
1/2 cup toasted hazelnuts        I used toasted sliced almonds--loved them!
1/2 cup fresh parsley


You will need to cook about 1/2 cup of barley to get 1 1/2 cups cooked.  I have always used Pearl Barley and I buy mine in bulk at Winco.  It is just as cheap as white rice.  Just follow the directions on y our bag from the store.  It is easy!  Just plan ahead so it can cook for 45 minutes.


Heat 1-2 T olive oil in a large skillet.  Cook the mushrooms with 1/2 to 1 tsp salt, stirring occasionally, until deeply golden.  Transfer to a bowl.  


 Cook onion in a small amount of oil until softened.  Add 2 T vinegar and simmer until reduced by half.  Remove from heat and whisk in creme fraiche (or sour cream) and remaining 1 T vinegar.  Whisk in 3 T more olive oil.  Add chives and thyme and season with salt and pepper.  (I personally like thyme, but think that its "woodsy" flavor can quickly overwhelm a dish, so next time I will use it sparingly!)  

This is what my "dressing" ended up looking like....


Combine lettuce, barley, mushrooms, nuts, and parsley.  Add dressing from pan.  Toss to coat then  season with salt and pepper to taste.


I like to sprinkle on just a little Parmesan cheese for the finishing touch.  I like the little extra flavor it adds to the dish.


I have made this again and we really love it.  The second time I used red-wine vinegar instead of the balsamic and just a tiny sprinkle of thyme and it was perfect!


So if you have never cooked with barley, you should give it a try.  And as long as you like mushrooms, this recipe is a great place to start!


Monday, March 11, 2013

Baked Sweet Potato Fries

These were delicious!  I am a BIG lover of sweet potatoes in any form...but especially fried!  So I was excited when I saw this baked recipe in my Better Homes and Gardens magazines that might allow me to enjoy a favorite a little more often without paying for it around the middle!


Here's what you'll need....

Olive oil
1 lb. sweet potatoes or carrots (I have yet to try the carrot version...but I think I'd love it!)
1/2 cup white whole wheat flour
1/4 tsp. salt
2 eggs, lightly beaten
2 T. water
1 cup fine dry bread crumbs
1/2 cup grated parmesan cheese
1 T olive oil
Ketchup or your favorite dipping sauce...we made some Cajun Mayonnaise.


Preheat oven to 400.  Brush pan with olive oil.  Peel potatoes and cut into narrow wedges.  Toss with 2 tsp oil.  Place the veggies on the pan and roast 10 minutes.  Remove from oven.  Let cool for 10-15 minutes. 

While they cool, mix together four and salt in a shallow pie pan or dish.  In a second dish, combine eggs and water.  In a third dish, combine bread crumbs and parmesan.  Dip veggies, a few at a time, in the flour, then egg, then bread crumb mixtures.  Arrange in a single layer on an oiled cookie sheet and roast for 15 minutes until brown and crispy.  Serve warm with the dipping sauce of your choice!


Monday, March 4, 2013

Roasted Carrot Soup

{Meatless Monday}

Roasted Carrot Soup... 
    this is currently my FAVORITE soup.  This last time I made it, I cooked up at least 
3 pounds of carrots and still did not have enough leftovers for my liking!!


It is also super easy!  And oh so healthy! 

This recipe comes from Martha Stewart.  I found it one night (it was probably the 12th or 13th of the month...our payday is the 15th! ; )  when we had almost nothing in the fridge.  And I mean NOTHING!

But what I did have was a big bag of carrots in my vegetable drawer.  I just went to Google and typed in Roasted Carrots (because that is of course my favorite way to eat carrots!) and this was one of the first links.  We made it that night, and I have been hooked ever since!


Here's what you'll need...


  • 1 small onion
  • 1 pound carrots,  peeled and cut into 2-inch chunks
  • 1 small Belgian endive, quartered lengthwise (I have always left this out)
  • 2 tablespoons olive oil
  • 1/4 teaspoon coarse salt, plus more for seasoning
  • Pinch of freshly ground pepper, plus more for seasoning
  • 1 bay leaf
  • 2 cups homemade or low-sodium store-bought chicken stock, plus more for thinning
  • 1/3 cup half and half or milk (I usually use Fat-Free Half and Half)
  • 1/4 teaspoon grated peeled fresh ginger, or to taste
  • Creme fraiche or sour cream, for garnish (optional)

Preheat oven to 450.
Cut your onion into wedges and your carrots into nice medium thick sticks.  Put on a cookie sheet and drizzle with olive oil and season with salt and pepper.  Stir around and spread in single layer.  Don't overcrowd the cookie sheet.

Roast until edges of vegetables are deep brown, about 30 minutes.

Transfer vegetables to a pot and add bay leaf. (I like to pour a little broth onto the cookie sheet to get off all the yumminess from the roasting and then pour that into your pot!)   Pour in enough broth to just cover the vegetables. Bring to simmer and cook for 30 minutes, until vegetables are very soft.  

Remove bay leaf and then puree the mixture (I have to do this in 2 or 3 batches in my blender).  We like ours to be completely smooth...no chunks at all.  Return to pot and warm up again.  At this point, the recipe tells you to stir in the ginger. 

But when I make it, I actually leave it completely unadulterated when I serve it.  Then I put out all of the following spices:

CINNAMON and NUTMEG and GINGER and CURRY.  

They are ALL delicious in their own way!  I let each person decide what spices they would like.  And my favorite part is that I can choose to have 3 small bowls and give them all a slightly different flavor.  


This soup has such a smooth and rich flavor!  You really need to try it.  Trust me! It is an all-time favorite now and the best thing is....carrots are cheap!!

Monday, February 25, 2013

Roasted Ratatouille Pasta

{Meatless Monday}

I am FINALLY back with a new recipe.  It has been many months now where my focus had been on other projects and not on cooking. I have been quilting, painting, and paneling my fireplace wall. Meanwhile, we have enjoyed our old standby recipes for many weeks... but I finally went looking in my basket of Everyday Food magazines and found this one that looked like it was worth a try.


The recipe is for GRILLED vegetables, but since we don't own a grill, I just roasted/broiled them in my oven.  My husband and I both agreed that the only thing missing was mushrooms--we both love mushrooms.  The eggplant was the only vegetable that didn't stand out to me.  Next time I make this, I may just replace the eggplant with mushrooms and see how we like it.

This was one of those meals that nearly caused mutiny at the dinner table with the little ones!  They are allowed to pick out one thing that they don't want to eat.  But when there are FIVE vegetables on their plate, they tend to get upset.  ; )

But we all survived and they got to try a few bites of things they did not especially want to eat.  It's good for them and someday (maybe?) they'll thank me.

Here's what you'll need...

10-12 oz. curly pasta, such as cavatappi   (I used Whole Wheat Rigatoni)
1 medium zucchini, cut into spears
1 bell pepper, halved and seeded
1 red onion, halved
1 small eggplant, cut into thick slices
4 large tomatoes, cut into thick slices
3-4 T balsamic vinegar
1/4 cup roughly chopped fresh parsley

In a medium pot of salted water, cook pasta according to instructions.

Reserve one cup pasta water.   Drain pasta and return to pot.

You can grill vegetables, brushing them with Olive Oil and seasoning with salt.

Here's what I did:  Heat oven to 375.  Place vegetables on a cookie sheet and drizzle with olive oil.  Salt and pepper. Roast for 25-30 minutes.  Then turn oven to broil for 5-8 more minutes until vegetables have browned nicely.

Transfer to cutting board and let cool before roughly chopping all vegetables.


I LOVE this picture...it just looks healthy for you and so, so delicious!


Add to pasta, along with 2 T olive oil and balsamic vinegar, to taste.  Use 1/2 cup to 1 cup pasta water to create a light sauce that coats pasta.

The pasta and veggies were still so warm they were steaming up the camera!


 Season with salt, peeper and fresh parsley.  Serve warm.  I topped each bowl with some grated parmesan cheese.


Monday, December 3, 2012

Potato-Salmon Croquettes

{Meatless Monday}

OK...I am a little surprised that I actually tore this recipe out of my Parents magazine...and then kept it for a year!  ; )  But I thought they seemed interesting and I also knew the kids would have a blast making them with me...which they did! (pictures below)

I have never tried to buy Salmon before...but this is pretty much all that I could find that was not outrageously expensive.  I should have taken some pictures of what came out of this can.  But I could barely make myself prepare it! ; )  My 8 year old daughter was eager to help, so she grabbed a can opener and opened this baby up.  I told her to drain it and dump it onto the cutting board.  I was at the stove making the mashed potatoes out of potato pearls when I hear her say, "Um, MOM...why does this have skin and bones in it?"


I really wish now that I had taken a picture.  The skin was the grossest part.  But it had ALL of the bones too...even all the little vertebrae.  We kind of had a cool little science lesson right there in the kitchen as I went to work trying to remove all the bones from this salmon meat.  Because the last thing that I needed was to pay the money for this dumb salmon, go to all the work to make these dumb things, have the kids make a total mess of the kitchen and their hands and most likely their clothes...and then have them NOT EAT IT because they crunched on a fish bone!!!

So after that disaster was all cleaned up and dumped in the outside garbage can ( hate those yucky fish smells!!) I went ahead with the recipe...and it actually turned out great!  My kids really did have a great time making them.  It wasn't as big of a mess as it could have been.  And ALL of my kids loved them.  I will be making them again...but next time I am going to try a nice little can of White Albacore in place of the Salmon.  I think it should still work and I won't have to deal with slimy, scaly fish skin!

Here's what  you need to make your very own FISH STICKS!!  You never knew that you wanted to make your very own, did you??  This is a food that kids always like and I bet your kids would love to get up to their elbows in flour, beaten eggs, and breadcrumbs....so give it a try!!

2 cups leftover mashed potatoes, chilled
10 oz. canned salmon, drained
2 large eggs
1 T. lemon zest
2 T. chopped fresh parsley
1 cup all-purpose flour
Salt and Pepper
2 to 2 1/2 cups bread crumbs
1 cup vegetable oil (or less, if you are like me and have a really hard time frying anything!!)


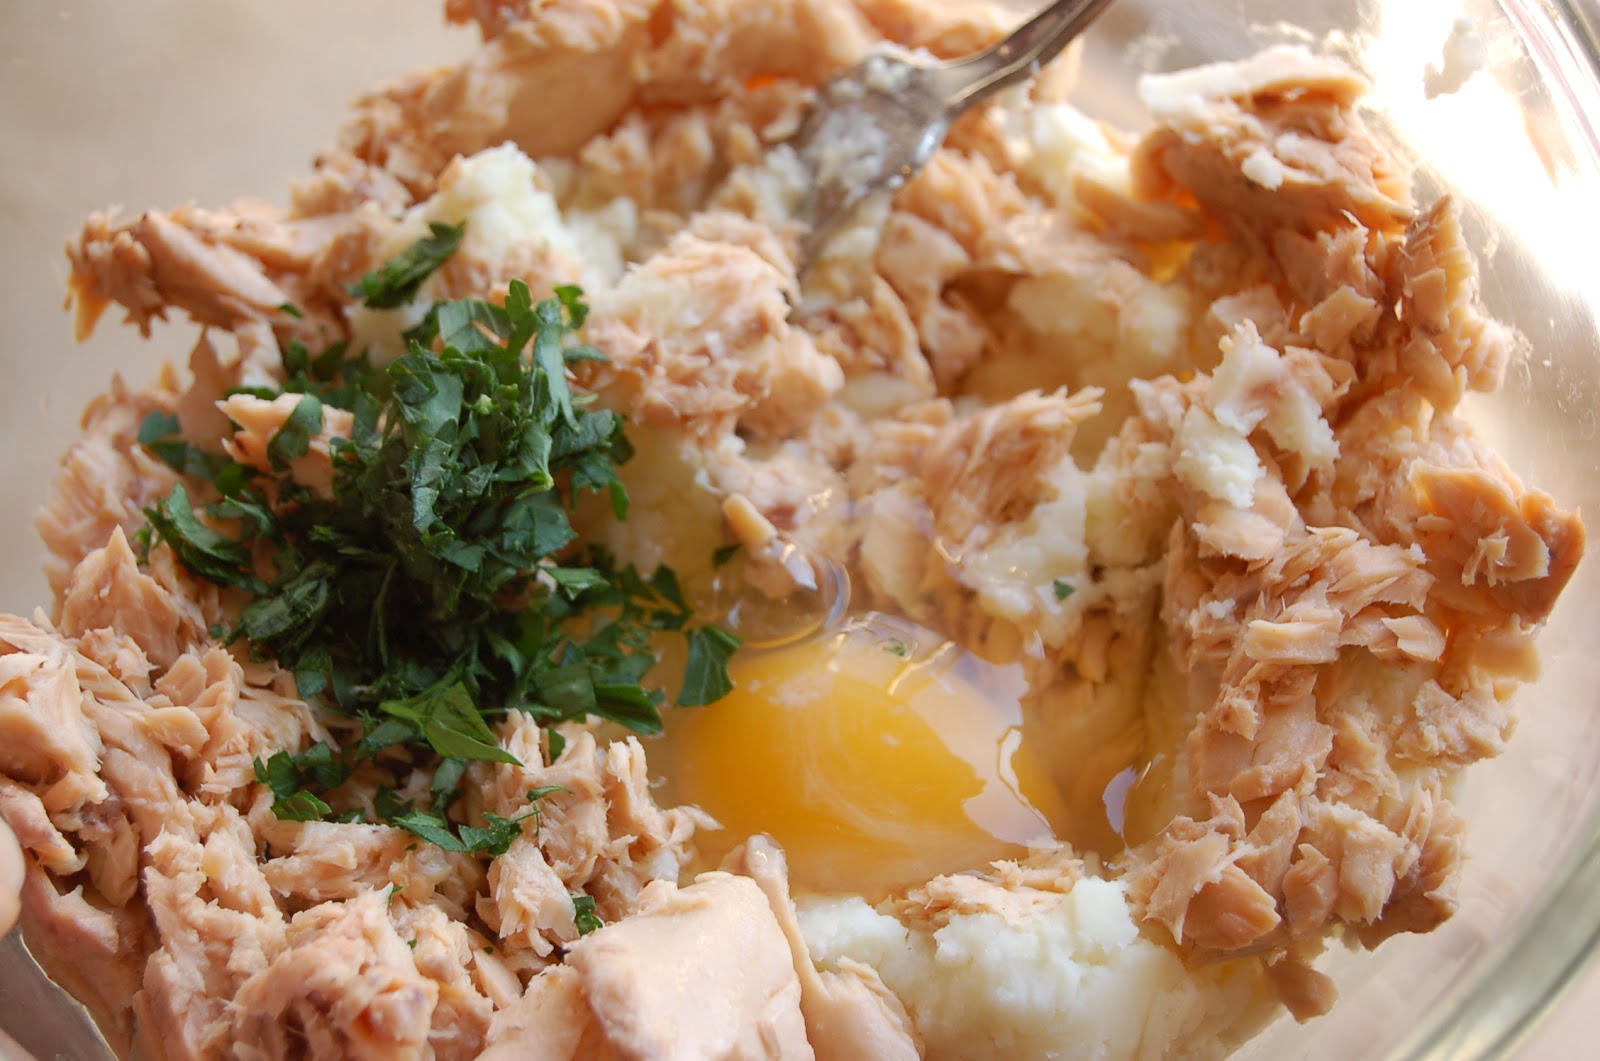
In a large bowl, combine the potatoes, salmon, 1 egg, zest and parsley.


Put the flour in a shallow bowl and season with salt and pepper.  In another shallow bowl, whisk the remaining egg with 1 T water.  Place the bread crumbs in a third shallow bowl, like this...


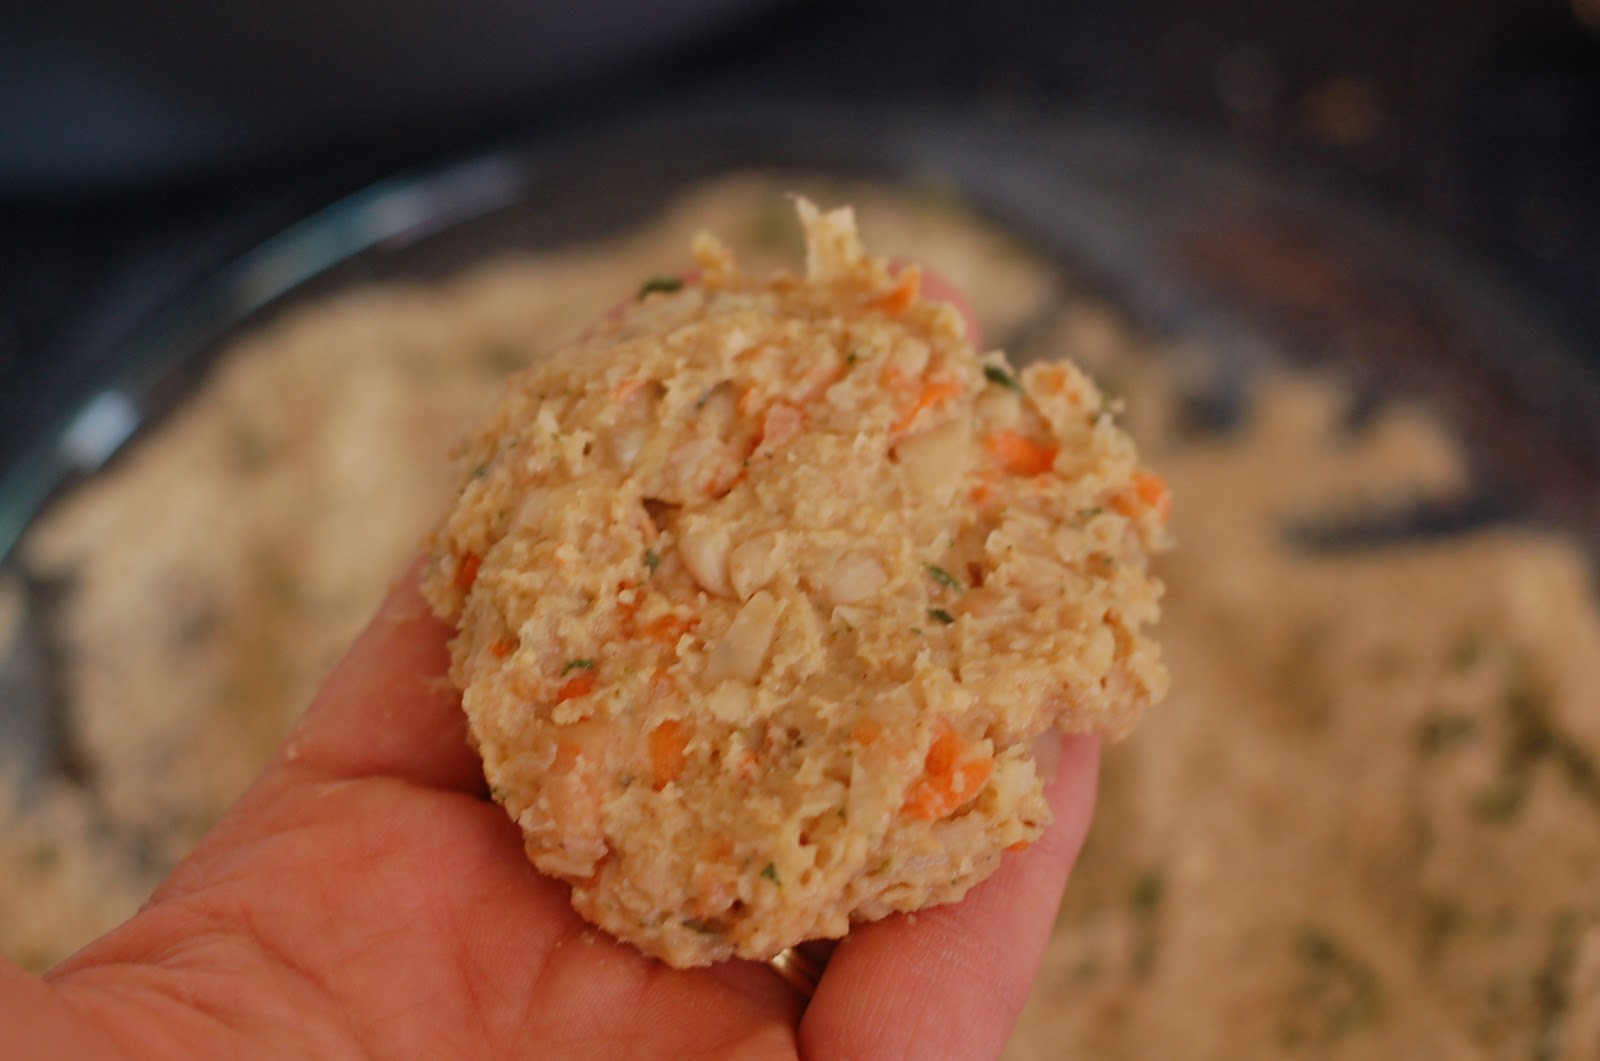
Using wet hands, form the potato mixture into 3 inch fingers. Dip the fingers in the flour, and shake off any excess; dip them in the egg wash, and then roll them in the bread crumbs...pressing the crumbs on to form a crust and do a final shaping of the fish sticks.

Now...the magazine has this beautiful photo of nearly perfectly shaped "croquettes", as they call them, but I am sure you can appreciate that with helpers like these, mine were not going to be quite as cute. ; )
But they actually did a pretty good job for being 5 and 8!!


Coat the bottom of skillet with oil and working in batches, fry the croquettes until golden brown all around, 4-6 minutes total.  Drain on paper towels and serve immediately.


My kids ate these with some mayonnaise mixed with ketchup.  I prefer a mix of a little light mayonnaise with some Cajun Seasoning.

Next time I make them, I am going to try to bake them after a very quick, light frying and see how they turn out!!  I will let you know.

Monday, November 26, 2012

Cheese & Green Chile Enchiladas

{Meatless Monday}

This is another recipe that I tore out of a magazine long ago.  So long ago that I don't even remember which magazine.  It might have been a Rachel Ray.  My husband brought a couple of those home for me from his school last year.  ; )  But anyhoo....  My family is not often fans of corn tortillas, but in some recipes they just work...and this one worked!  Everyone loved them.  I made Cilantro Lime Rice to go with it.   This recipe is just like the one I use out of my cookbook from church.


Here's what you'll need to make these DELICIOUS enchiladas...

3/4 lb. monterey jack, shredded (about 3 cups)
2 cans (4 oz. each) diced green chiles, drained
1 cup sour cream  (I used light sour cream)
1 small yellow onion, grated
2 cloves garlic, finely chopped
A handful of cilantro leaves, chopped and a few whole leaves for garnish
1 tsp. ground cumin
12 corn tortillas
thinly sliced red onions, for topping...if desired

Preheat oven to 425*.   In a medium bowl, combine the cheese, canned chiles, sour cream, onion, garlic, chopped cilantro and cumin.

Heat tortillas briefly in warm skillet.  Drop a few tablespoons of the cheese mixture onto each tortilla and roll up.  (You should use about 2/3 of the filling).  Arrange the enchiladas in a single layer in a casserole dish.  Cover with the remaining cheese mixture and bake until golden, about 15 minutes.  Top with red onion, cilantro, and even jalapeños, if you wish!!

Monday, November 19, 2012

Tomato & Red Potato Gratin

{Meatless Monday}

I LOVE this recipe.  And I wouldn't even say that I LOVE slices of tomatoes normally.  I could not believe how delicious the flavor was!!  I made it twice in one week.  That's how good it was.  

With an abundance of tomatoes and red potatoes from our own garden, one day I just googled "Red potato Tomato Recipe" and this is what came up.  The recipe called for leeks and Gruyere cheese and  I only had yellow onions and mozzarella....but it was amazing anyway.


1 1/2 Tbs. olive oil 
3 cups sliced leeks, OR ONE LARGE WHITE ONION, chopped
1  1/4 lb. red potatoes, unpeeled, cut into 1/4-inch slices 
1/2 tsp. salt
1 1/2 Tbs. olive oil 
2 tsp. chopped fresh rosemary, or 1 tsp dried rosemary
1 tsp. chopped fresh rosemary, or 1/2 tsp dried rosemary
1 1/4 lb. ripe tomatoes, cut into 1/4 inch slices
1 3/4 cups grated Gruyère cheese OR MOZZARELLA 
1/2 tsp. salt 
Freshly ground black pepper to taste 
1 1/2 Tbs. olive oil 
2/3 cup breadcrumbs mixed with 2 tsp.olive oil  
3 T Parmesan cheese, grated  For Topping, if desired


Heat the olive oil in skillet over medium heat. Add the leeks/onions and sauté, stirring frequently, for about 15 minutes. Spread the onions evenly in the bottom of an oiled 2-qt. shallow gratin dish. Let cool.


Meanwhile, in a medium saucepan, cover the potato slices with well-salted water and bring to a boil. Reduce the heat to a gentle boil and cook for 5 minutes or until the potatoes are just barely tender. Drain and rinse under cold water until cool. Pat dry. Toss the potatoes with the salt, olive oil, and rosemary.

Heat the oven to 375°F. Sprinkle 1/2 tsp. (1/4 tsp. dried) of the chopped rosemary over the leeks/onions. Starting at one end of the baking dish, lay a row of slightly overlapping tomato slices across the width of the dish. Cover the row of tomatoes with a generous sprinkling of Gruyère or Mozzarella. Next, arrange a row of potato slices over the tomatoes. Sprinkle again with cheese. Repeat with alternating rows of tomatoes and potatoes, sprinkling each with cheese, until the gratin is full.


Sprinkle about 1/2 tsp. salt and the remaining 1/2 tsp. rosemary over all and season with pepper. Drizzle with the olive oil. Mix any remaining cheese with the breadcrumb mixture and spread this over the whole gratin. Top with Parmesan, if desired. Cook until the gratin is well-browned all over and the juices have bubbled for a while and reduced considerably, 60 to 65 minutes. Let cool for at least 15 minutes before serving.

Then ENJOY a scrumptious dish full of yummy flavors and creamy cheese and rosemary.  Just typing this up makes me want to make it again!!

You all know how much I love roasted vegetables...and this is made even better by the cheese and the breadcrumb topping.  So, next time you are looking for a new side dish...try this! You'll love it.