Wednesday, August 29, 2012

I Am Still Here...

So...this summer has been a little crazy!  Super fun...but very busy.

Here's what my summer looked like:


  • Trip to CA in early June.
  • Arts Festival classes in June.
  • Youth Conference in June.
  • July 6-20  Two week choir tour all over the Southern US with my three oldest.  Meaning the two youngest were home with Mr. Mom for 2 whole weeks.  They had a blast and he did a great job! I spent my birthday on a bus...yes, all 24 hours of it!  Yes, you should feel very sorry for me.  ; )
  • July 31-Aug 2 Trip to St. George with just the two youngest while oldest three were at camp.
  • Straight to San Diego (alone!) for my cousin's wedding.
  • Aug. 14-18 Enjoyed my favorite week of the year...BYU Education Week with my sisters and mom!
Whew!! What a summer.  It totally flew by, but I had tons of fun and never, ever felt that summer was dragging or had to deal with bored kids because we always had something to look forward to!


Here we are at Graceland.

Ahhh...the tour bus.  I'm glad I don't have to see one of those again until NEXT summer!  ; )


But since I stopped blogging in April, I can't really JUST blame it on the summer.  ; )  Oh, well.  Life happened...and cooking new recipes did not happen...so I stopped having anything to blog about.

But now I am back on track.  I have two new recipes on my menu list and if I can just find the time to make them, I will take pictures and post them!


We have a large crop of bell peppers from the garden so we are trying Vegetarian stuffed peppers and I am also trying Ravioli with Butternut Squash sauce.  So, I will be back this monday with a new Meatless Monday!

Thanks for not giving up on me!

Monday, April 16, 2012

Baked Spinach and Pea Risotto

{Meatless Monday}

This recipe was SO much easier than the other risotto I made a while back.  This one is baked...which means you put things in the pot/skillet, bring it to a boil, and then put it in your oven!  Instead of standing there stirring for 30 minutes straight!  This is definitely a keeper.  It has such a great flavor and is so easy to throw together.


Here's what you'll need:

2 T butter
1 shallot, chopped (I used a green onion)
6-8 mushrooms, sliced (I added this ingredient and I used Shiitake)
1/2 cup dry white wine (I used cooking wine)
3 cups vegetable broth
1 cup Arborio rice (I buy mine in the bulk section of WinCo)
1 cup frozen peas ( I warmed mine in a pot before mixing in)
2 cups roughly chopped spinach
1/4 cup grated Parmesan

Heat oven to 425.  Heat the butter in a dutch oven or large ovenproof pot.  ( I just used my large skillet that can go straight into the oven.  I would LOVE a LaCreuset Dutch Oven...but that isn't happening anytime soon! ; )

Add shallot/onion, and mushrooms.  Sprinkle with salt and pepper and sauté for 4-5 minutes until mushrooms shrink and brown.


Add the wine to the pot and cook for 2 minutes.  Add the broth and rice and bring to a full boil.


Cover the pot and transfer to HOT oven.  Cook until the rice is tender and creamy, 20-25 minutes.  (Mine was done in about 20-22 minutes)

 This is what it looked like when I took it out of the oven:


 Add the peas, spinach, and Parmesan.  Stir.  If it is too thick, add up to 1/4 cup hot water.  I ended up using at least 1/2 cup of water that the peas had been cooked in.   Top with more Parmesan, if desired.


This was so creamy and all my kids ate it really well.  I admit I did remove the mushrooms for the younger two.  They just don't love them and my husband and I don't want a single one wasted! ; )  We love them too much.
Enjoy!  And I hope you have a wonderful week!

Thursday, April 12, 2012

Life...and other things that keep me busy!

I cannot believe it has been a full month since I last posted!  Sorry!

I have been quite preoccupied with some commitments I made a long time ago...namely, PTA Teacher Appreciation Week and sewing 55 articles of clothing for my son's dance teacher (in trade for the entire year of dance for free! ; )

Thank goodness for my MOM!!  She and my dad were visiting and she helped me get everything started and she even took home about 22 of those pieces...including the leotards which scared me a little.  Bless her!!!

The good news for this blog is that I was just at my library last night and found this cookbook that looked like it would have lots of new, easy, fresh recipes to try.


And after I went through and tabbed every recipe that looked interesting and vegetarian, it looked like THIS:

So I promise there are good things to come!  I have also bookmarked quite a few recipes off the internet. I am especially excited to try my first Vegan Lasagna that all the reviewers swear tastes delicious and some even say they can't believe it doesn't have ricotta in it because it tastes so good.  So, we will see!
Stick around...and I will be back on Monday with a new Meatless Dish for you to try!

Have a great weekend!

Monday, March 12, 2012

Pea and Carrot Soup with Rice

{Meatless Monday}   ...finally! ; )

The other night, my husband brought me home a new Rachel Ray magazine (for some reason he is getting them at his school) and I opened it up and there was a recipe that looked quick and easy and I had everything to make it...hooray!

I think most everybody really liked it.  It had such a good flavor with the pesto rice.  And most of my kids had seconds!! It just felt healthy and yummy.


Here's what you need:

2 T. butter
1/4 cup orzo
1 cup white rice
6 cups vegetable broth, DIVIDED
2 T olive oil
4 carrots, peeled and cut into 1/4 inch cubes
2 leeks, halved and sliced ( I just used a large regular onion)
2 cups fresh or frozen peas

1/2 cup pesto (the original recipe had you make a parsley/mint pesto, but I just used one of my frozen pucks of pesto Scroll down about half way for pesto recipe!)


Melt butter in saucepan.  Add the orzo and toast until golden brown.  Stir in the rice and add about 2 cups of the broth.  Bring to a simmer.  Cover and cook, stirring occasionally and adding a bit more broth if necessary.  Cook about 18 minutes, until tender.

Meanwhile...in a soup pot, heat the olive oil and add the carrots and leeks/onions.  Season with salt and pepper.  Cook until softened, 6-7 minutes.  (I did a little longer because I wanted them really soft for my kids. Nothing creates mutiny like crunchy onions!! ; )  Add the remaining broth and peas.  Bring to a boil, then lower to a simmer.

Combine pesto with rice/orzo mixture.  Scoop 1/2 cup of rice/pesto mix into each soup bowl.  Top with the vegetables in broth.  Stir to combine.

It was so easy, so yummy, and so well liked that I can't wait to make it again.  I especially loved the rice with the orzo...they both gave the soup a great texture.

Monday, February 6, 2012

Sweet Potato Ravioli

{Meatless Monday}


This is another recipe from my new vegetarian cookbook.  I have never made my own ravioli before...so it was quite an adventure...to say the least.  The photos don't really show it, but things got REALLY messy when some of the ravioli decided to burst during their few minutes in the boiling water.  It was all kinds of fun...let me tell you.

But my girls really enjoyed making them with me and they really did have a yummy flavor.  But I would prefer them along with something else...because I think I would enjoy them in a smaller portion.

Here's what you need:

For the mixture:
1 lb. orange sweet potato, cut into large pieces
1/4 cup olive oil
5 oz. ricotta cheese
1 T chopped fresh basil
1 clove garlic, crushed
2 T grated Parmesan
2- 8 oz. package won ton wrappers

For the sauce:
2 T butter
1/4 cup finely chopped onion
2 cloves garlic, crushed
1 cup cream (I used fat-free half and half)


Roast your sweet potato drizzled with olive oil for 30 minutes in a 375*-400* oven.  ( I pretty much burned mine...which is why there are little black specks in my mashed picture below! ; )

Transfer to a bowl and mash with the ricotta, garlic, basil, and Parmesan until smooth.


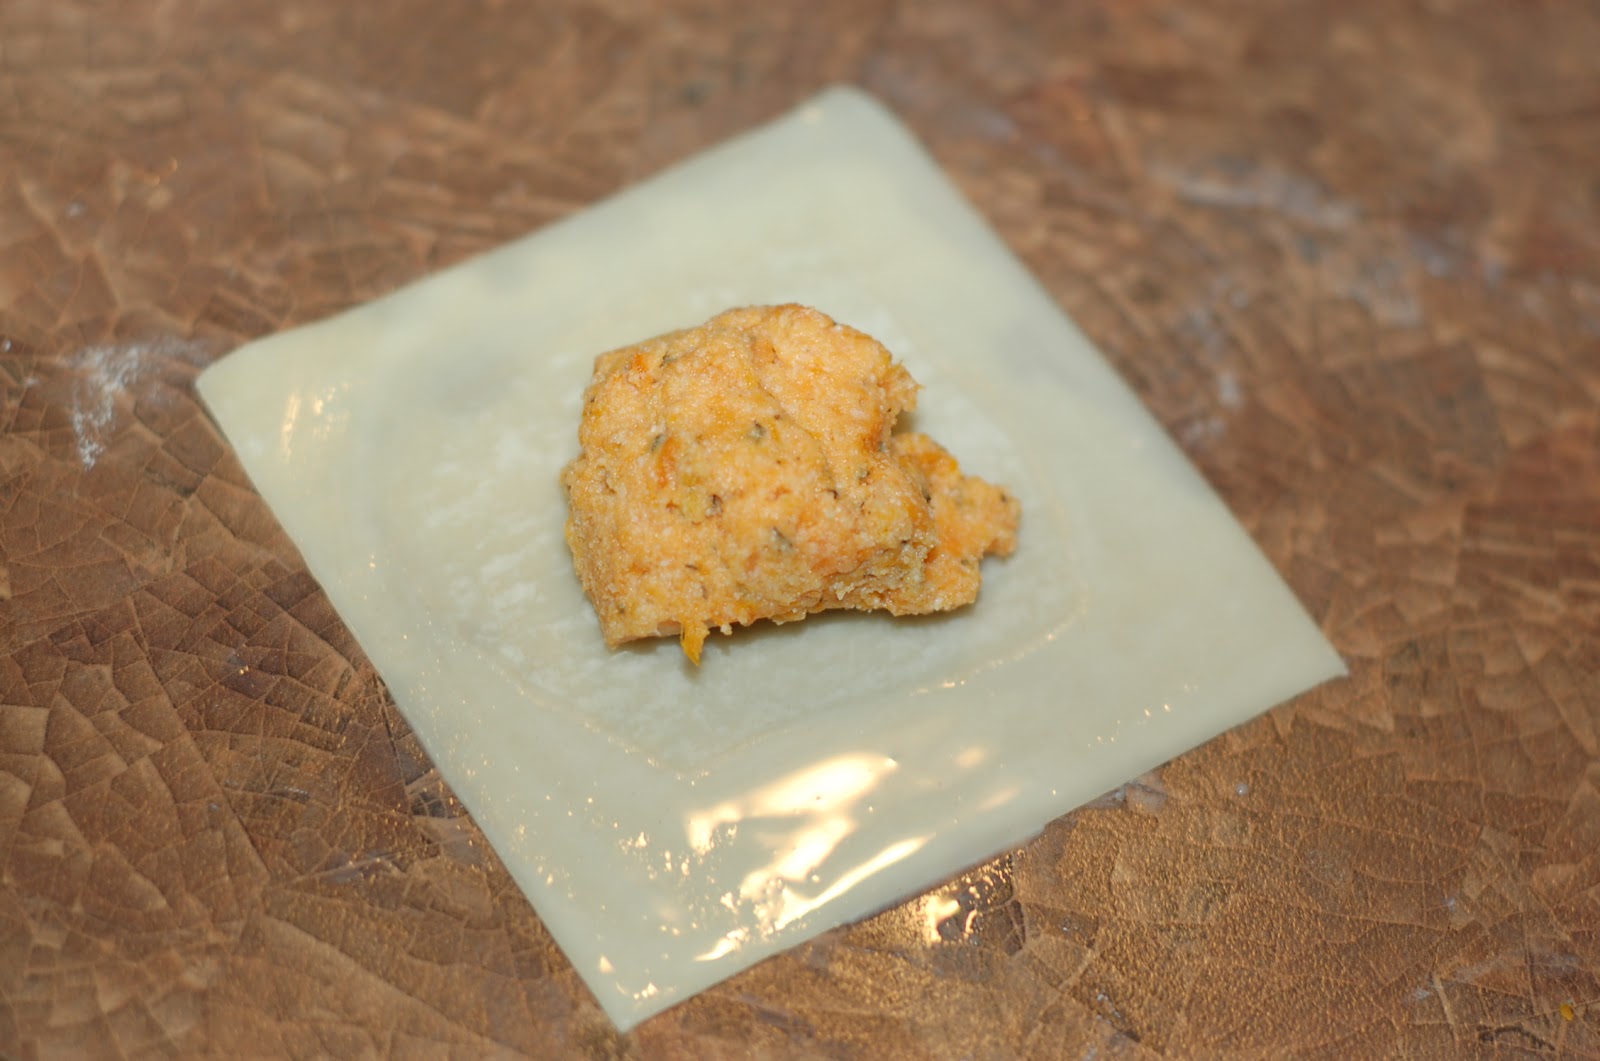
Place 2 teaspoons of the mixture in the center of the wonton and brush edges with water.  Top with another wrapper.  

So this is how the book said to do it:


But this is how we ended up doing them and I preferred them this way.  Less wrapper to the mixture.
Just keep on repeating until you run out of wrappers or mixture! ; )


To make the sauce:  Melt the butter in a frying pan.  Add the onion and garlic and cook over medium one minute.  Add the cream and bring to a boil.  Reduce heat and simmer 4-5 minutes until thickened.  Since I used Fat Free Half and Half...it didn't really thicken, so I sprinkled on a little flour and called it good.  I had a horrible time getting a picture...but the onion/garlic sauce was a nice balance to the sweeter potato/cheese mixture inside.

Monday, January 23, 2012

Tortellini with Nutty Cream Sauce

{Meatless Monday}


This was the very first recipe I tried out of my new cookbook and it was a keeper!  It was very simple (with frozen Tortellini) and pretty quick to put together.  The thing that took the longest was to shell the walnuts! ; )  We were given a box of walnuts about a year ago and every time I need some, we hurry and shell just enough...but we really should just have a shelling party and get them all done! ; )

I couldn't find a small package of pine nuts at my grocery store, so I just used almonds and walnuts since that is what I had.  It would be even more delicious with the pine nuts, I am sure!  Just more expensive.
 ; )  We really love nuts in our family and we loved it with walnuts and almonds.


 Here's what you'll need for this super simple meal...

1 lb. cheese tortellini or ravioli (I used frozen)
3 T butter
1/3 cup walnuts, chopped
1/3 cup pine nuts
2 T chopped fresh parsley
2 T chopped fresh thyme
1/3 cup ricotta cheese
3 T cream

Cook the tortellini according to directions. I always love the colored tortellini.


 Heat the butter in a large pan until foaming.  Add all nuts and stir for 5 minutes, until golden brown.  Add the parsley, thyme, and salt and pepper to taste.


Beat the ricotta with the cream.  Toss the sauce and pasta together and top with ricotta cream.


I actually just mixed it all in and we really liked it that way.  Serve immediately.  I topped ours with a little more thyme and some shaved Parmesan cheese...because Parmesan cheese makes everything yummier!

Thursday, January 19, 2012

Homemade Bread Bowls

I love making homemade bread bowls to serve with soups.  I've made them a lot for my family and a couple of times for the teachers at our elementary school for their dinner during Parent/Teacher Conferences.

EVERYONE loves them!  Call me old-fashioned, but I think there is something special about homemade bread.  I grew up with a mother and grandmother that made bread all the time.  I remember coming home to fresh bread and jam.  I remember LOVING my grandmother's WHITE homemade bread...she always offered us a slice when we visited her.  And NOTHING compares to the smell of bread baking in the oven.  I love it and I wish I took the time to do it more often!

I make these bread bowls out of my regular bread recipe that I've always used in my Betty Crocker Cookbook.

I always start my breads by warming the water in a bowl in the microwave.  Then I test it to make sure it is just between warm and hot.  Then I stir in the yeast and sprinkle the sugar over the top and let it sit for 5-10 minutes.  This is called "sponging".  It just lets you know that the yeast is working.  That way, if nothing happens (like if your water was too hot and kills the yeast) you can just start over and you've only wasted a little yeast.

Start with:

2 1/4 cup very warm water    ( Heat in pan or microwave.)
2 packages regular or quick acting dry yeast  (I just use 2 T)
3 T sugar

Let sit for 10 minutes.

In large mixing bowl:

3 1/2 cups flour
1 T salt
2 T shortening

Stir and then add yeast mixture.  Add more flour one cup at a time (about 3-3 1/2 cups more) until the dough is SOFT but not terribly sticky.  It has become my opinion (especially when working with whole wheat dough) that softer is always better.  You can always add more flour in the kneading or rolling process...but you cannot take it out!

This is what my dough looks like just after I've mixed it:


Grease a large bowl and place dough in it. Cover with towel or saran wrap and place in a warm area for 40-60 minutes.  And if you are in a rush...30 minutes.


It should look something like this when it is ready:


Now you will form the bread bowls.  I don't bother making huge bread bowls like you get at a restaurant because all that means is a lot of wasted bread!  If you gently cup your hands and then touch your fingertips together--that is the size of dough that I use to make a bread bowl.  (Hope that makes sense! ; )
I do slightly smaller if it is going to be for young children.

I also make them smaller with the understanding that we will re-fill the bowl with a second serving.  So it doesn't have to be huge.

I like to sprinkle cornmeal on my cookie sheet and then place the balls evenly spread out so they have room to rise without touching.


Now, cover these with a clean kitchen towel and let rise in a warm place for 40-45 minutes.  Sometimes, if I am in a rush, they only get about 30 minutes...and it turns out fine too.

They should look like this when they are ready to be cooked:


I bake them at 375* for 20-25 minutes, just until they are golden brown.

Let them cool slightly after you take them out of the oven and then take a small knife and cut a hole in the center of the bowl.


Gently pull out the "lid" with your fingers and pull out as much bread as you want.  (When I do this for company, I pre-cut the holes, but let each guest dig out their own top.)  Fill with whatever delicious soup you desire!  Cream soups work the best since they don't make the bread all soggy with broth.  Cream of Broccoli is the most common one that I serve this way.


So the next time you are making soup, plan a little extra time and make it extra special with some homemade bread bowls.  Your family will love it!!